How Can You Repair Furry on Drawer Front
Happy Tuesday to you!
Today's QTT is more like a full blown tutorial on How To Use Bondo as Wood Filler… and how I think they compare. Even though this post isn't really 'quick', it's a follow up on last weeks Quick-Tip-Tuesday and I can't wait to show you this amazing dresser leg repair!
So let's get right to it… Have you ever passed up on a gorgeous piece of furniture because it was flawed or damaged? Maybe it was perfect in every way but it was missing veneer. Maybe a drawer corner was knocked off? Or possibly a hunk of wood was missing from a leg? Like this one!

No worries… I'm learning imperfections like these are EASY to fix!
I've used Bondo on a good few furniture projects and the truth is, I'm blown away by how well Bondo repairs small AND large missing wood pieces and/or veneer!
For instance, I wasn't 100% sure Bondo would fill this entire missing leg piece.
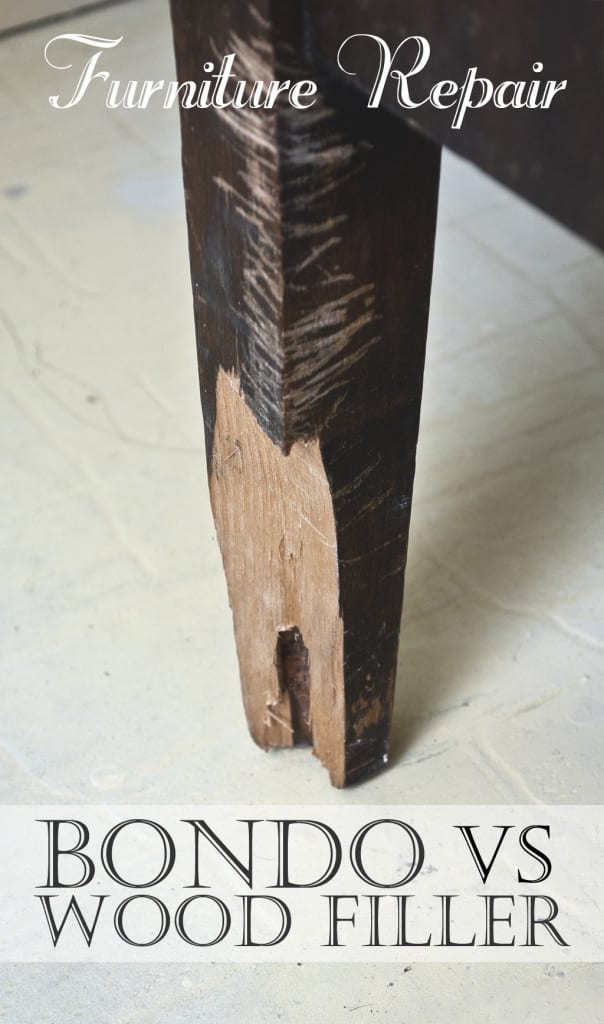
My original thought was to use some wood shims and wood glue to fill the majority of this missing leg, and THEN use a wood filler or Bondo to patch the rest of the repair. Then I thought – screw it. I'll find a way to re-create the straight lines of the leg… and I'm sure the Bondo will be strong enough. I was right!
Buying Bondo
There are numerous brands of "Bondo-Type" products but what you're looking for is a putty used for automotive repair and filler. All-Purpose Bondo's are best. Just as the name suggests, these products can be used on wood, concrete, tile, automotive repair etc.
The price of Bondo is in the $15-$20 range versus a brand-name wood filler which you can buy for between $5-$10. Bondo is a little more costly, but as you'll discover below, well worth it for the time it saves and the durability it provides!
Mixing Bondo
Mixing Bondo isn't difficult but I'm not going to lie… it's a whole lot of smelly! Make sure you work in a properly ventilated area and read the safety instructions.
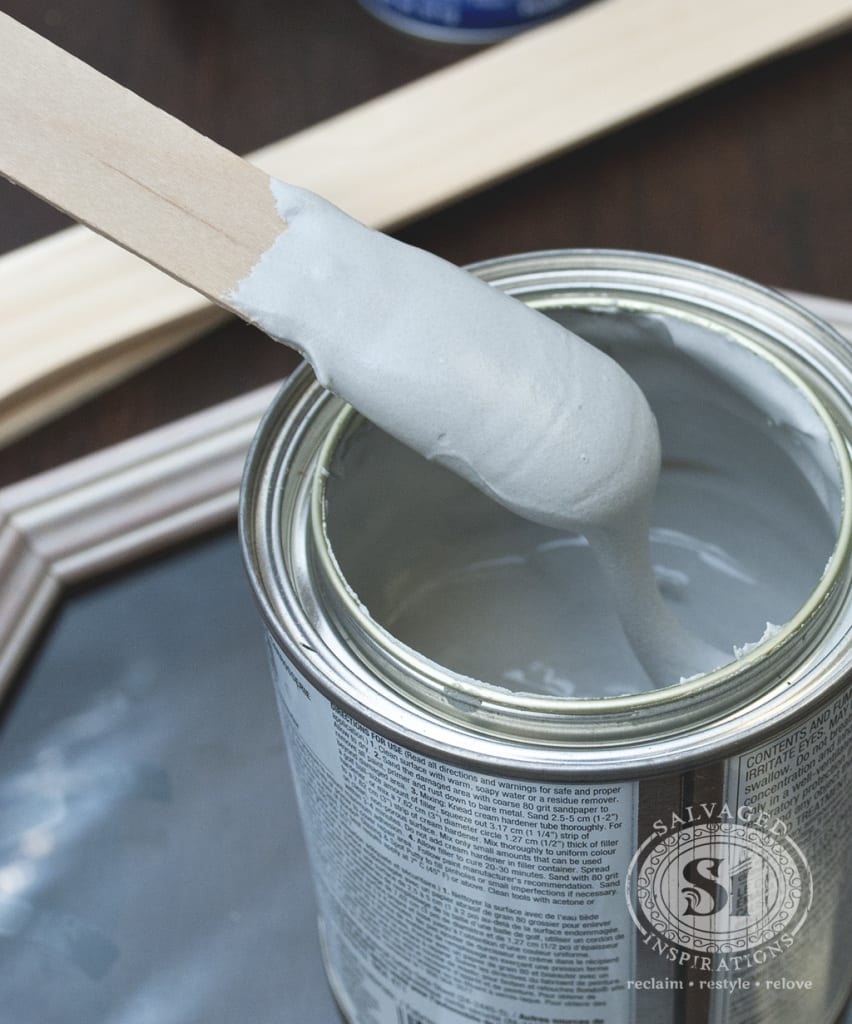
Bondo comes as a putty and includes a separate colored cream hardener. Once they are mixed together, the hardener activates the putty with some sort of chemical reaction. It's important to mix thoroughly until it's consistent in color.
Mix both together on a clean non-absorbent surface like plastic or glass. I've designated this glass frame for mixing my Bondo. I'm not sure why, but I read mixing on cardboard can absorb and change the chemical balance of the product.
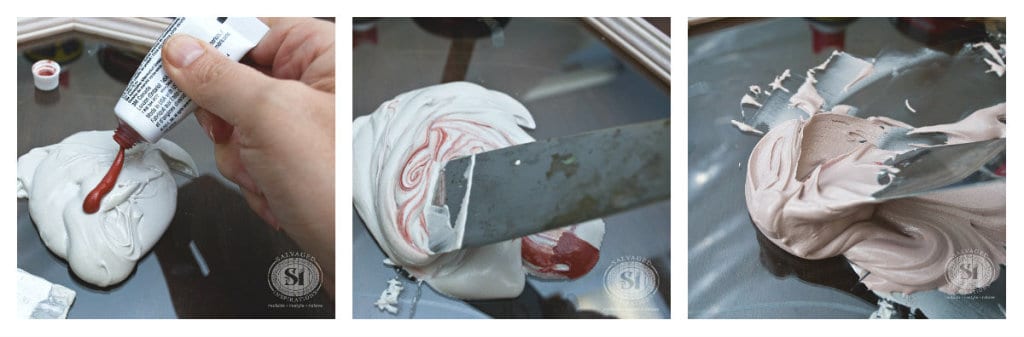
For a golf size blob of putty, I mixed in a one inch line of hardener. If you mix in more hardener, it will dry faster… it may even start drying during your repair. Be sure to follow the mixing instructions! Because it dries so fast, there's a short amount of time you have to work with this stuff – unlike Wood Filler where you can pretty much take your time.
Applying Bondo
You can apply Bondo with a putty knife or with the same tool you use to apply wood filler but the consistency is different. Bondo is more wet and gloopy….I know, not the most professional terminology there…lol.
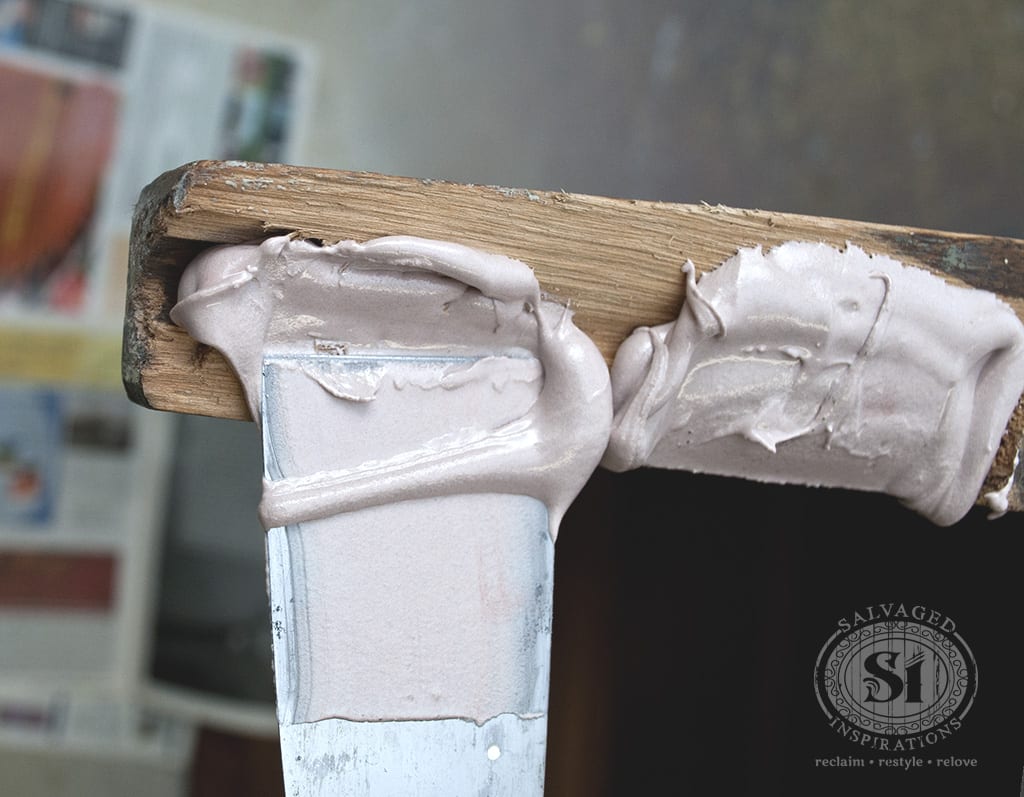
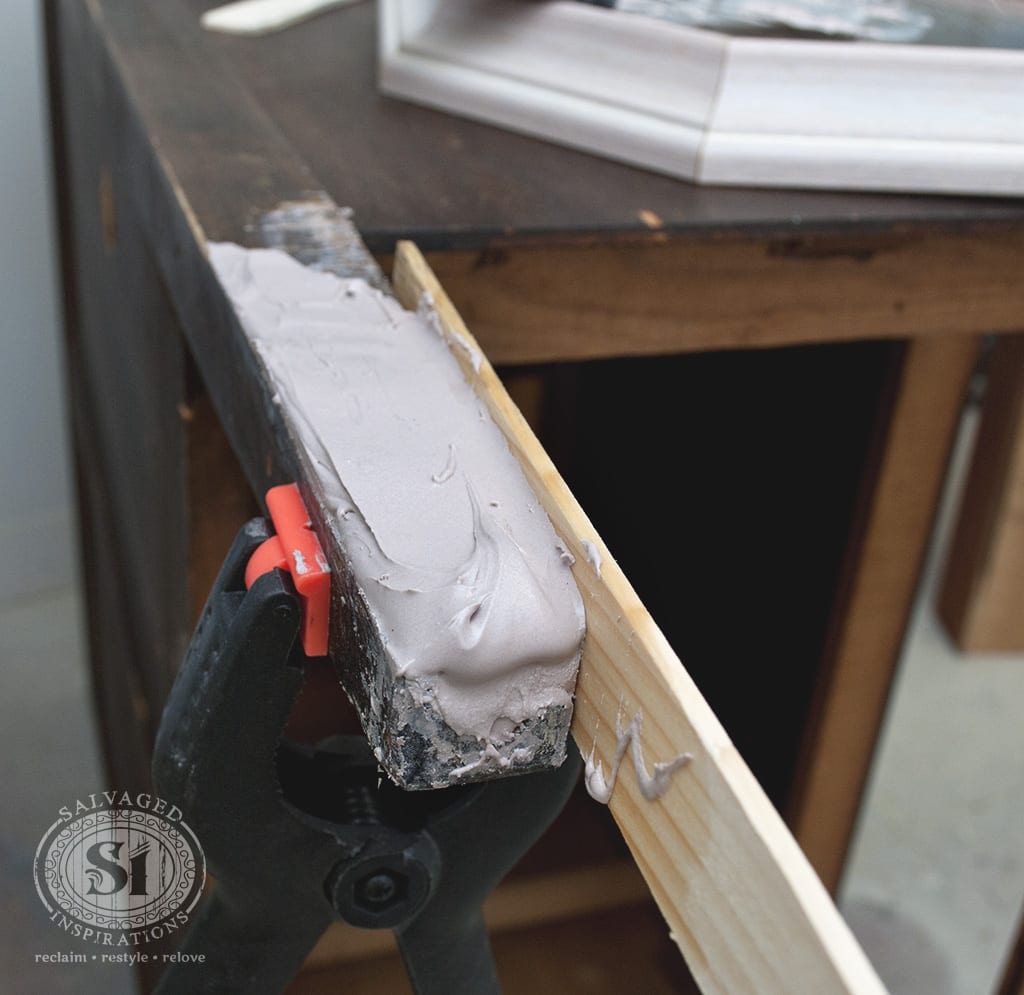
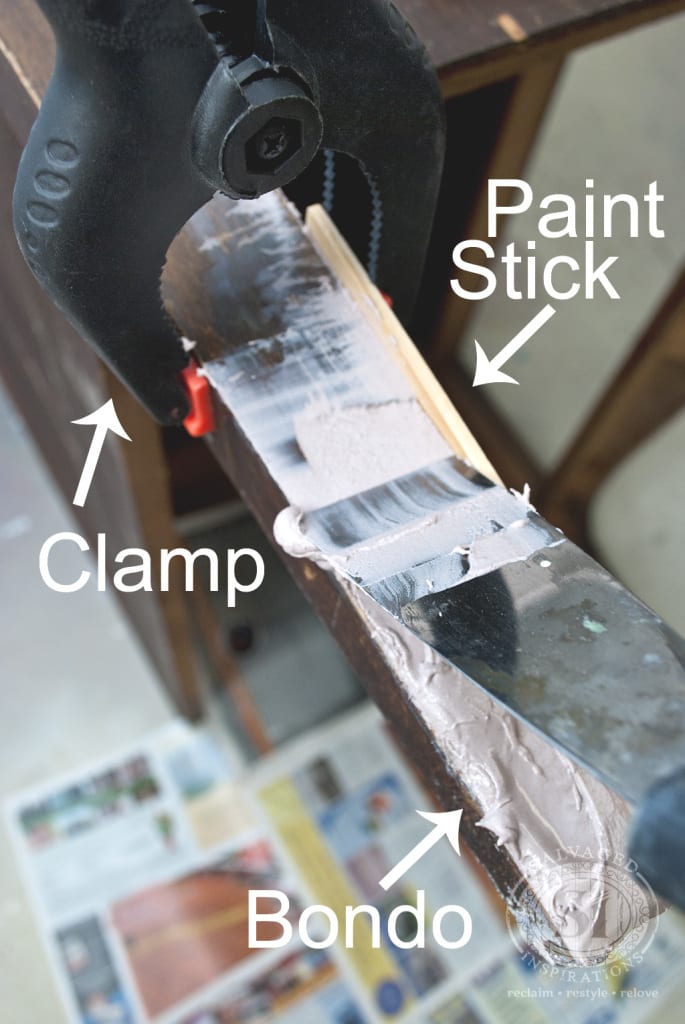
To create a straight edge which may be required for some larger repairs, use any sort of firm flat surface. I used paint sticks and clamps to create a perfect edge by following the natural line of the leg.
Check out last weeks Quick Tip Tuesday to see what I use so the Bondo doesn't stick to my paint sticks!
Unlike wood filler that may need to be applied in a few coats, Bondo has NO shrinkage. As long as you fill in your repair generously, only one application of Bondo is needed.
Dry Time
The biggest advantage of using Bondo over a regular wood filler is the short dry time. Wood filler can take hours to dry and require more than one coat. Bondo dries in less than 30 minutes and only requires one coat!
This means more projects in less time.
Shaping and Sanding Bondo
Bondo dries super hard and doesn't sand quite as easily as wood filler. Removing any excess Bondo BEFORE it's 100% dry will really cut down on your sanding efforts.
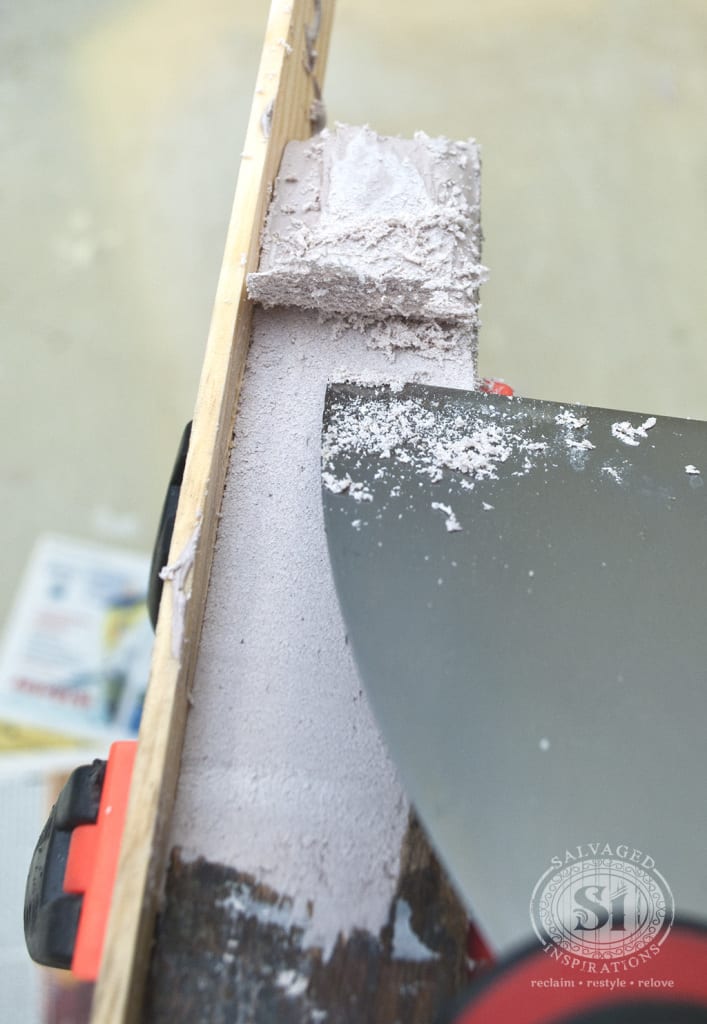
Here I'm skimming and shaping down the excess Bondo with my putty knife. This was about 12 minutes after applying it. It had set but wasn't fully dry making it pliable and easy to shape.
After I removed the excess following the contour of the original leg, I let it sit for another 10-15 minutes until it was totally dry before I sanded.

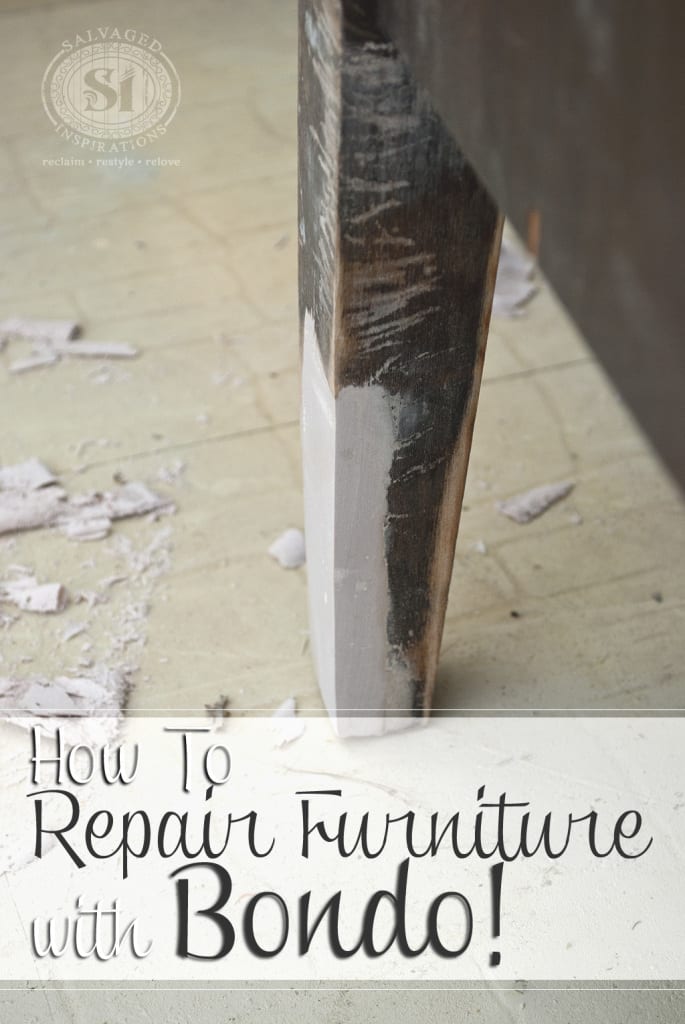
Starting with an 80 grit on my orbital sander, I worked my way to 220 grit for a perfectly smooth finish. Voila!
Painting & Staining Bondo
Bondo and other similar type products are made for painting – not staining. However, 3M has come up with Bondo Wood Filler that does accept stain… how exciting! If any of you have tried staining with this Bondo, I'd love to hear your results!
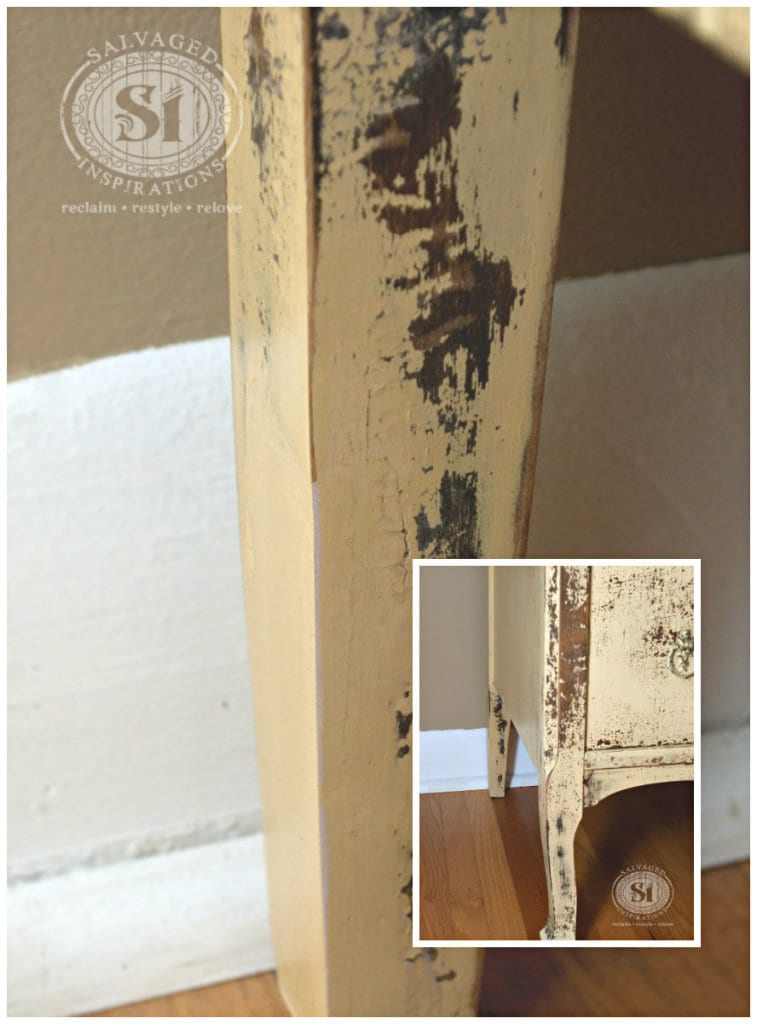
This piece has been painted and you'd never know the leg was broken!
I can't tell you how many perfectly imperfect pieces I've passed up because I had no idea how to fix them. Seriously, Bondo has become a game changer when salvaging furniture. It's easy to use, saves me time, and provides a heavy-duty durable fix!
I'd love to hear all about your Bondo adventures and repairs so leave me a comment below. Or if you have any questions… ask away!
Catch last week's Q-T-T here – and if YOU have any tips you'd like featured on the SI Quick-Tip-Tuesday-Series, feel free to send me an email!
Make sure you drop in tomorrow to see the FULL REVEAL of this dresser!
I absolutely LOVE this chippy primitive look and hope you do too! I promise to make tomorrow's post short and sweet with plenty of gorgeous pics! 🙂
See you tomorrow and have an amazing day!
Denise x
_____________________________
Like what you see? Subscribe to Salvaged Inspirations so you'll never miss a post!
Follow along on Pinterest, Google+, and Facebook for more inspiration!
How Can You Repair Furry on Drawer Front
Source: https://salvagedinspirations.com/furniture-repair-bondo-vs-wood-filler/